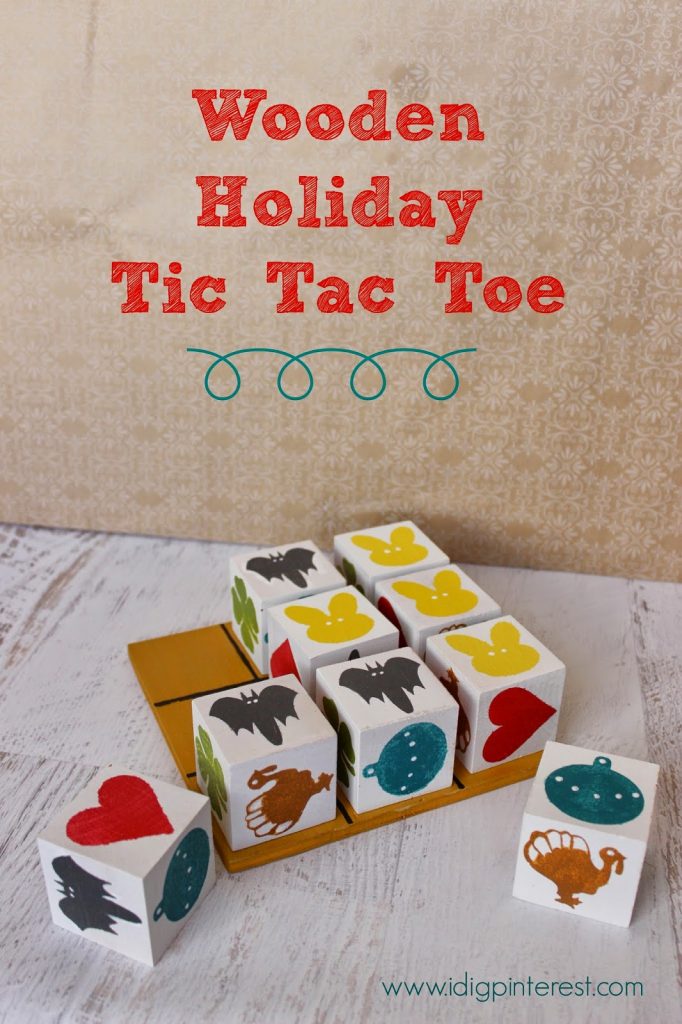
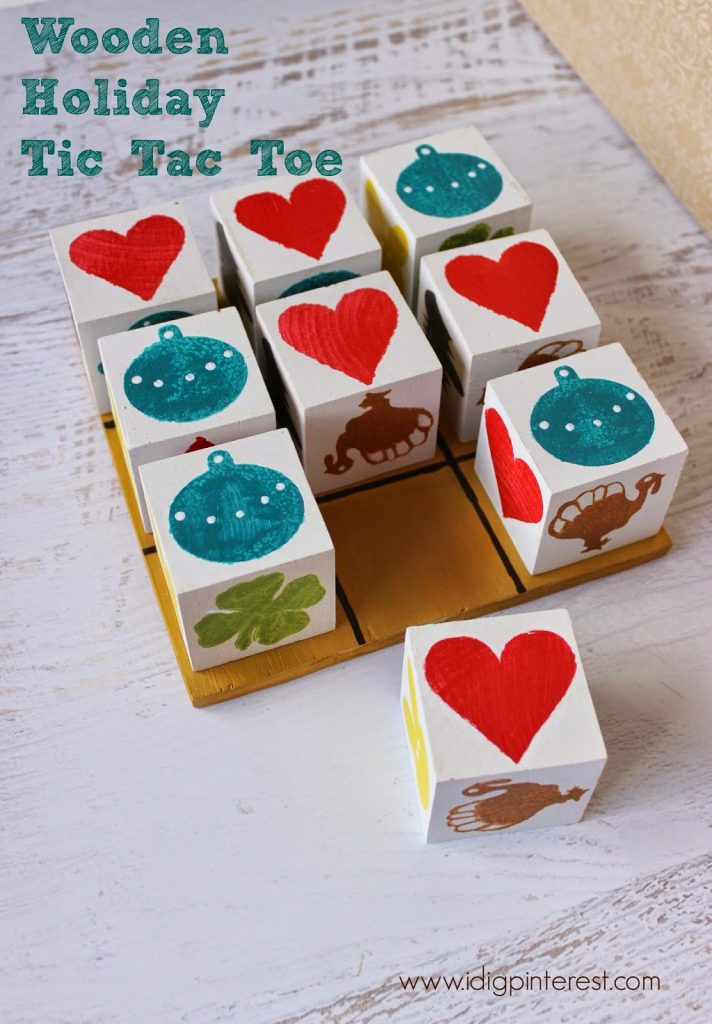
My kids love playing Tic Tac Toe on paper, so I decided to make a more permanent wooden version of it in a colorful, multi-holiday form! What do you think?
This is one of those projects that takes a little while, but is sure to get lots of use and provide oodles of entertainment for kids and adults alike. In fact, I hope this becomes a special family heirloom. It’s just that fun!
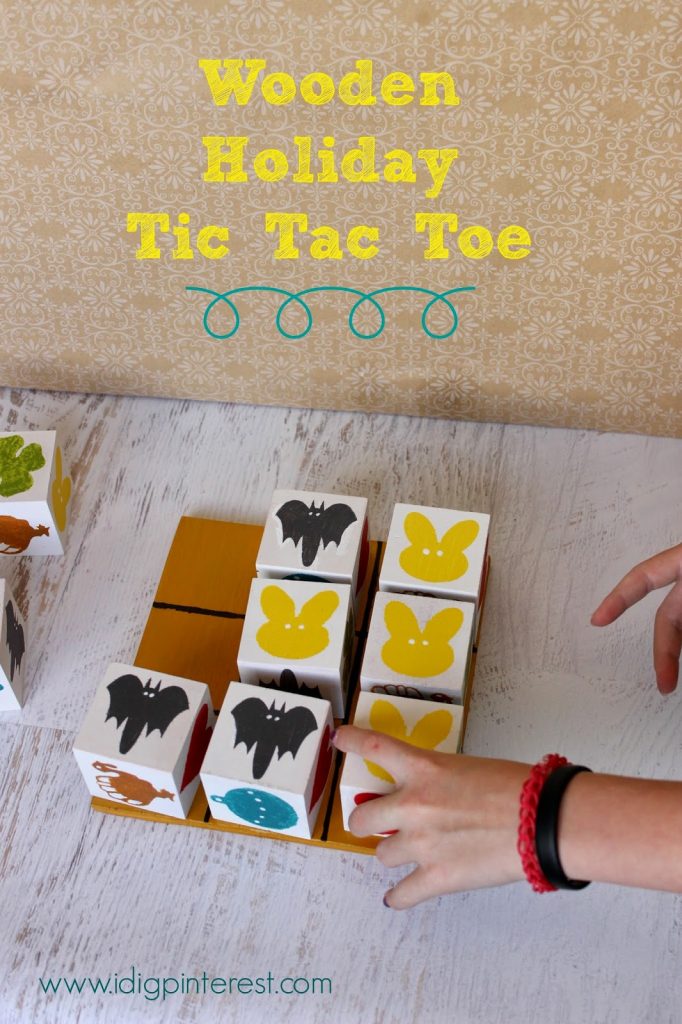
The kids almost couldn’t wait for the paint to dry so they could play. Three bunnies in a row…that’s a tic tac toe!
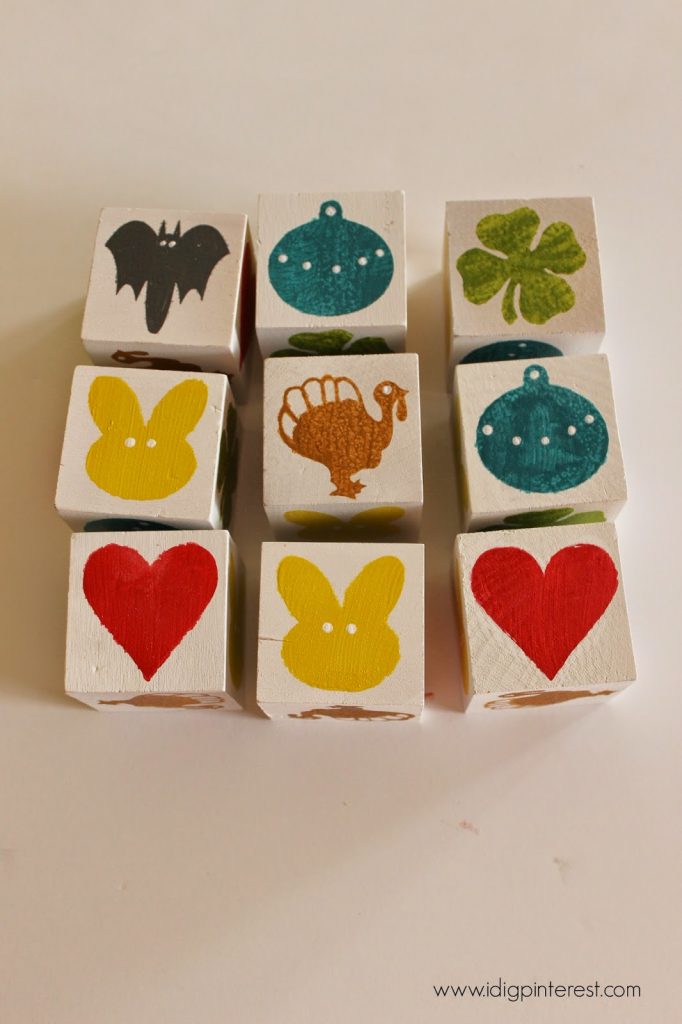
This project can totally be adapted to your favorite holidays too! I chose to represent Valentine’s Day, St. Patrick’s Day, Easter, Thanksgiving, and Christmas, but you can swap in whichever six you choose.
I used my Silhouette machine to cut the designs, then transferred them to the blocks and painted as if they were stencils. If you don’t own a Silhouette, regular stencils will do the trick too.
{SUPPLIES}
DecoArt Media Fluid Acrylic Paints in various colors
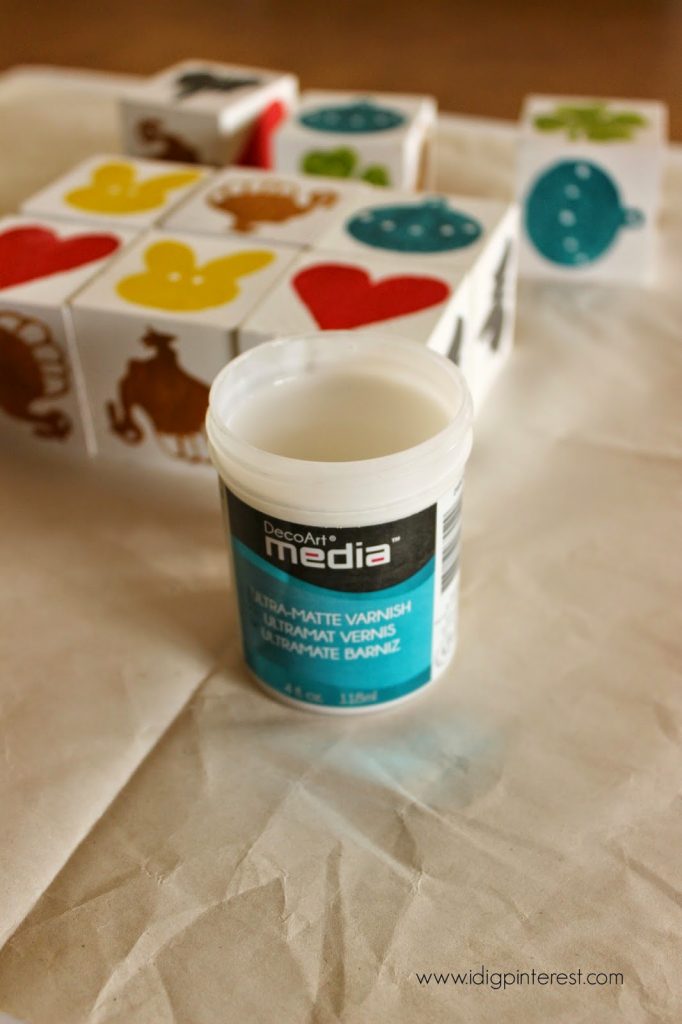
DecoArt Media Ultra-Matte Varnish
9 2″ wood blocks
A square piece of wood for your blocks to sit on (I cut mine about 7 1/4″ square)
Foam Paint Brush
Fine tipped paint brush for painting the tic tac toe grid
Holiday stencils or Silhouette holiday designs and transfer or Con-Tact paper (choose 6 holidays and cut 9 of each to be just smaller than your 2″ blocks)

I love that these new DecoArt Media paints are so vibrant and they dry really quickly! So many color options too! I didn’t have a black for the bats, so I ended up mixing a few paints to achieve the desired color. These paints are fluid acrylics, so they’re perfectly tailored for mixing!
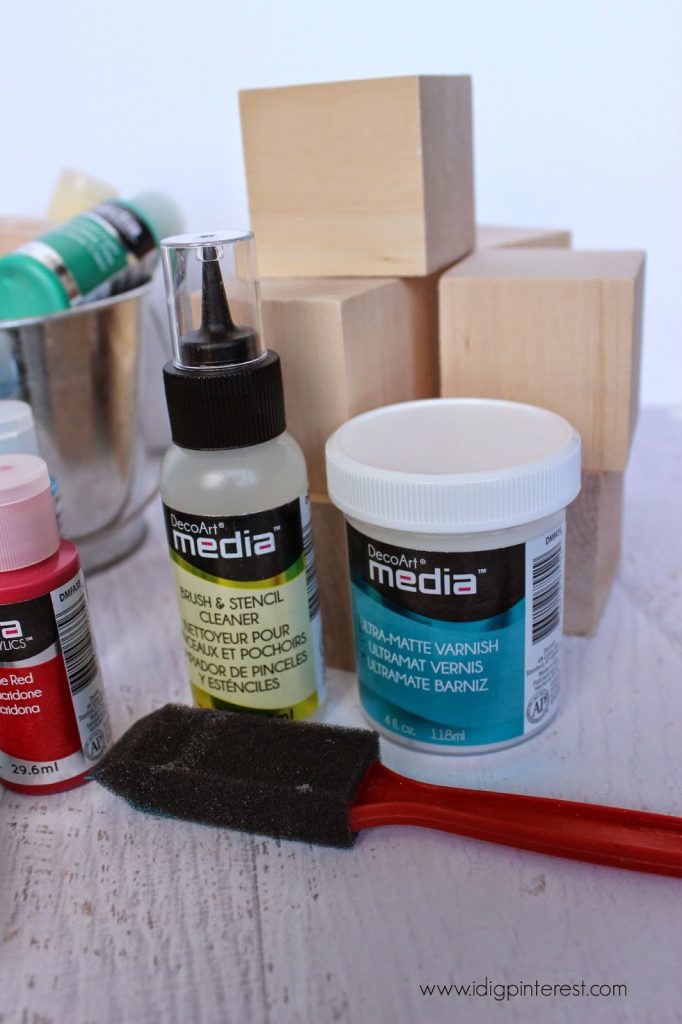
I used the Ultra-Matte Varnish to give the blocks a protecting finish after I painted them. It’s clear and doesn’t change the look in any way, which is what I was going for.
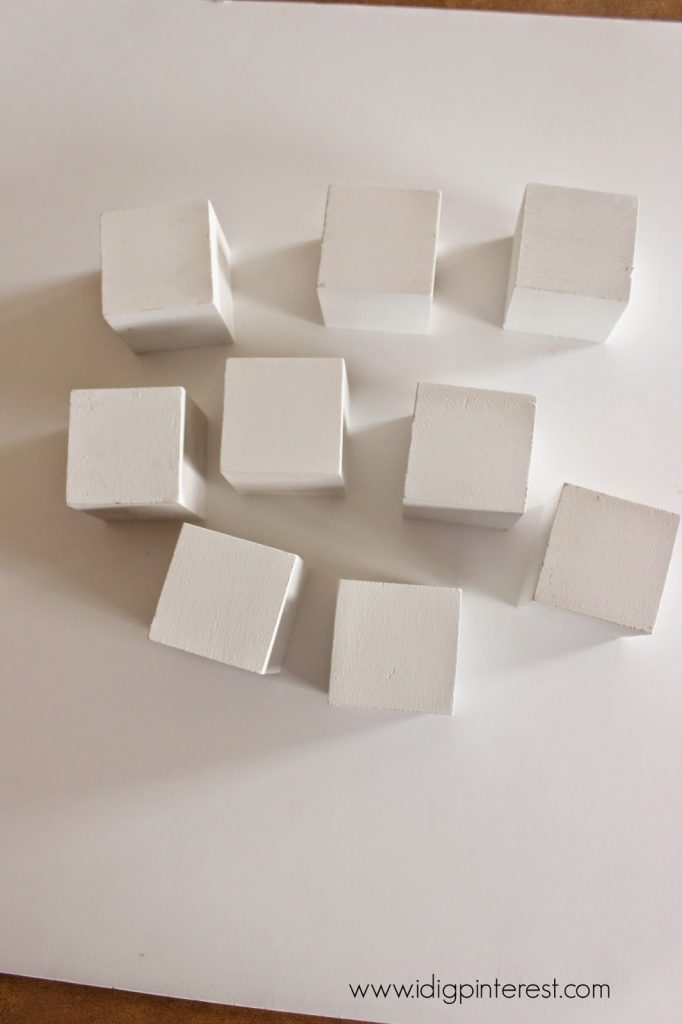
Begin by spray painting your blocks white.
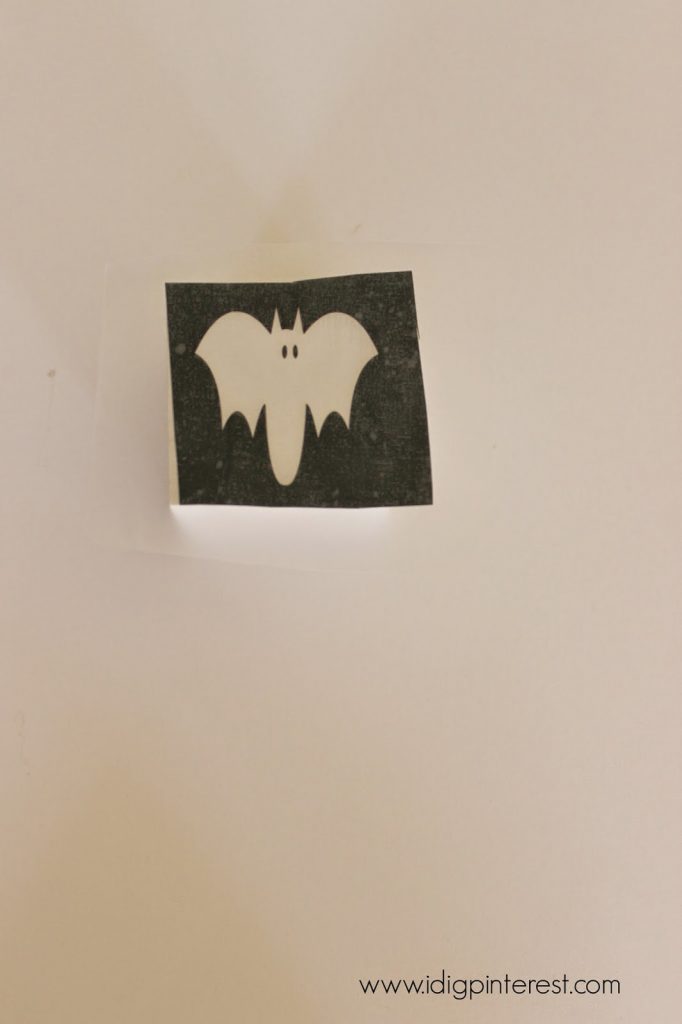
Grab your stencils or cut designs and use them to apply a holiday symbol to each block. You’ll want to choose 6 different symbols and use them once on each block, for a total of nine times. The vinyl can only be used one time, so be sure to cut nine of each design if using it.
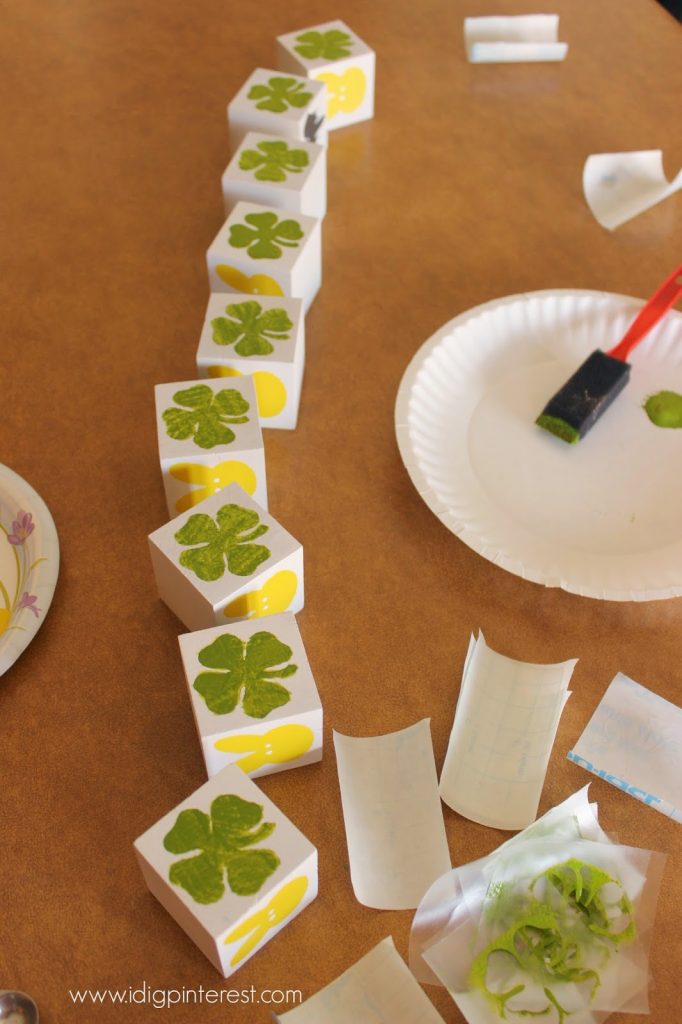
Paint your symbols through the stencils. If using vinyl, simply remove the inside, or the part you want to eventually show up on your block, rub onto the block really well (I actually vigorously scratched around the edges of the design to seal it to the block) and then paint. Do this really well so your paint won’t bleed around the edges. If it still does a little, you can touch it up later with some white paint and a fine-tipped brush.
I used the end of a small paint brush to dot the eyes and make the design on the ornament.
All done painting blocks! Now wait for them to dry completely.
Then apply a thin coat of Ultra-Matte Varnish to seal them.
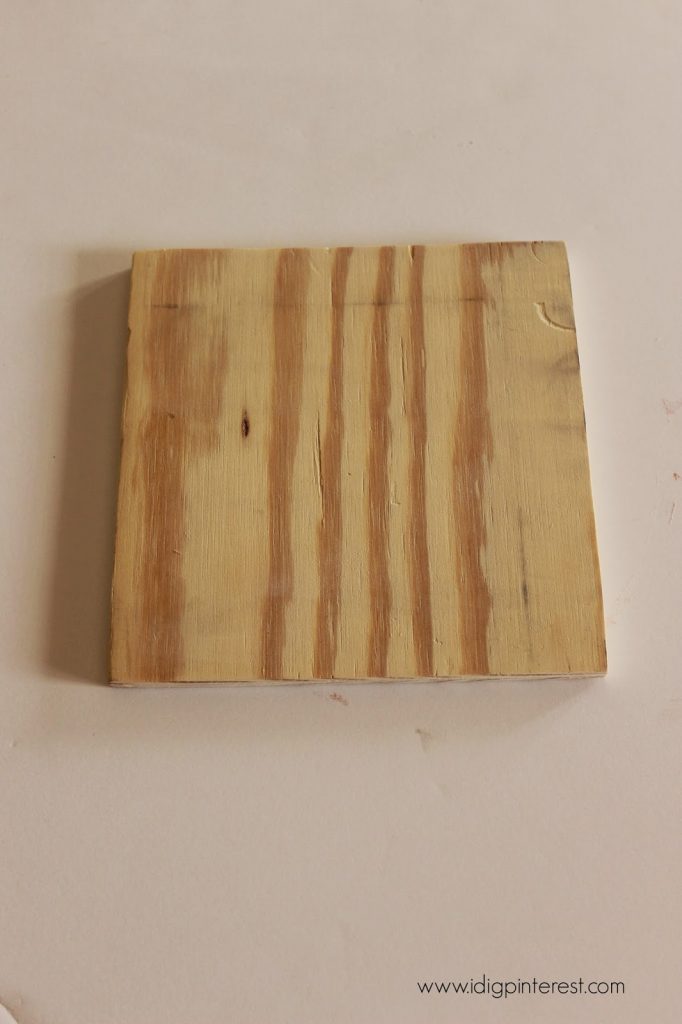
Cut and sand your wood square where your tic tac toe grid will be.
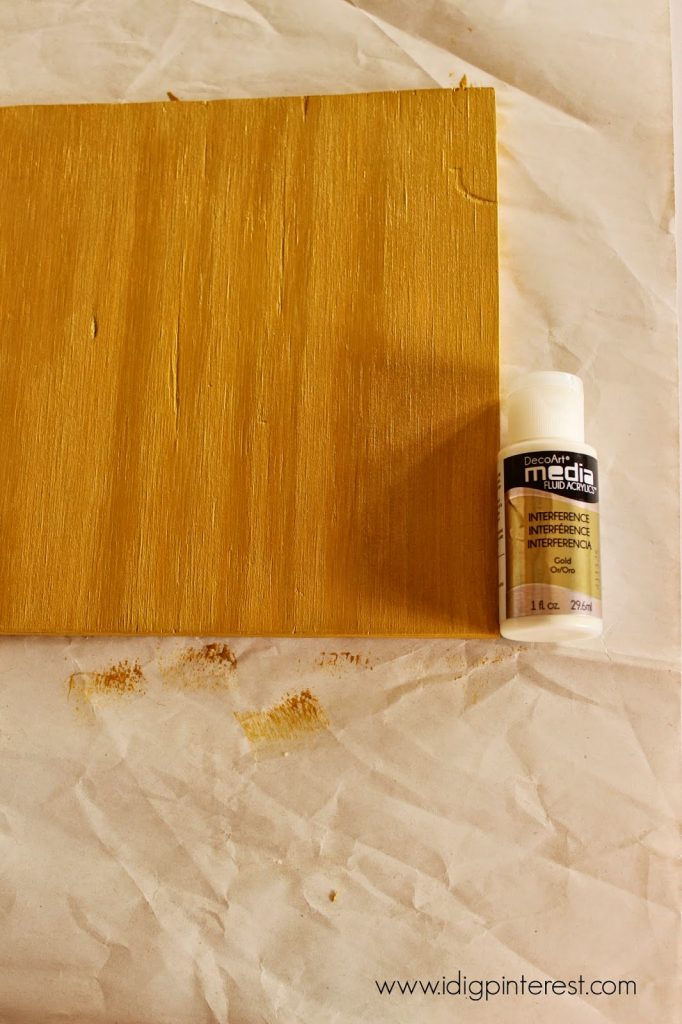
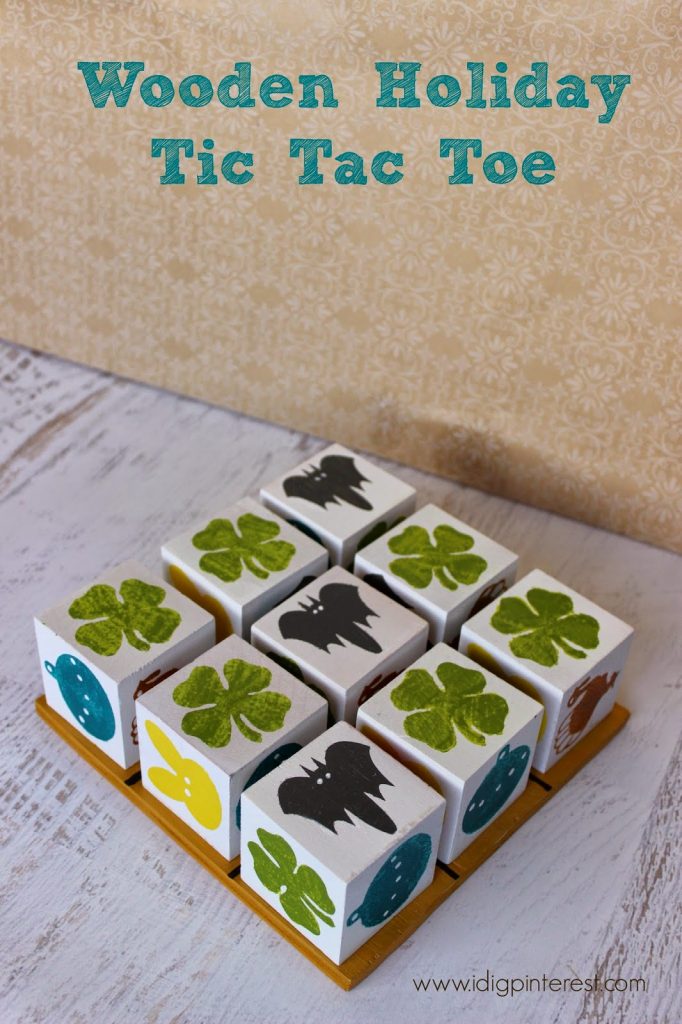
Paint the square. I used a yellow color for the base and then painted over it with an Interference Media in Gold. If you angle it certain ways in different lights, you can see a pretty sheen/glimmer.
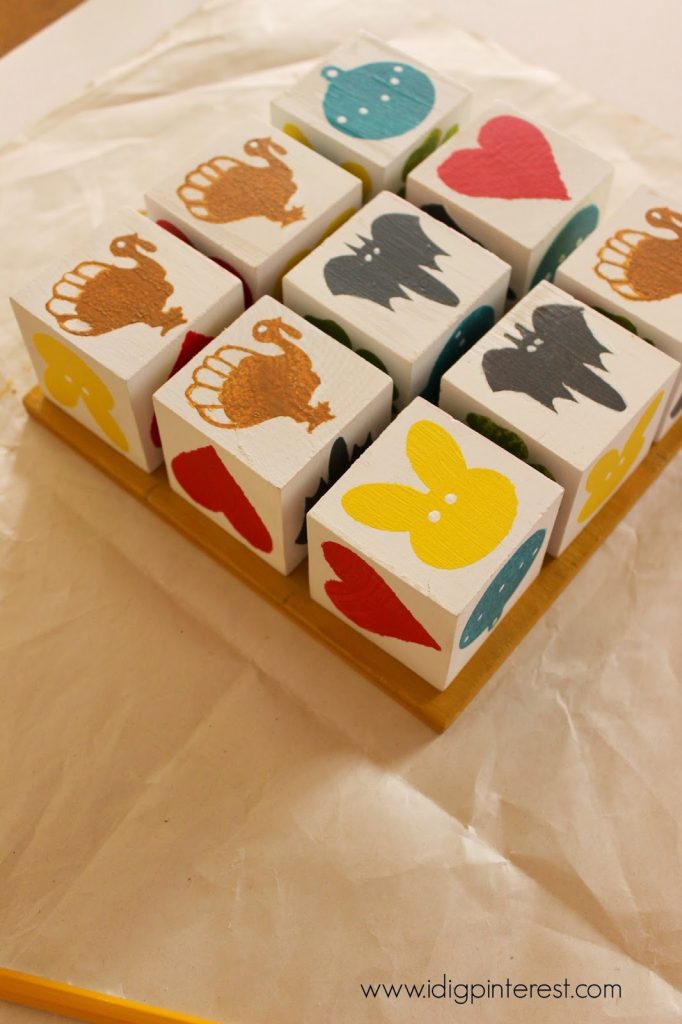
Now arrange your blocks on your wood square and, using a pencil, mark where you want the grid to be on all the sides.
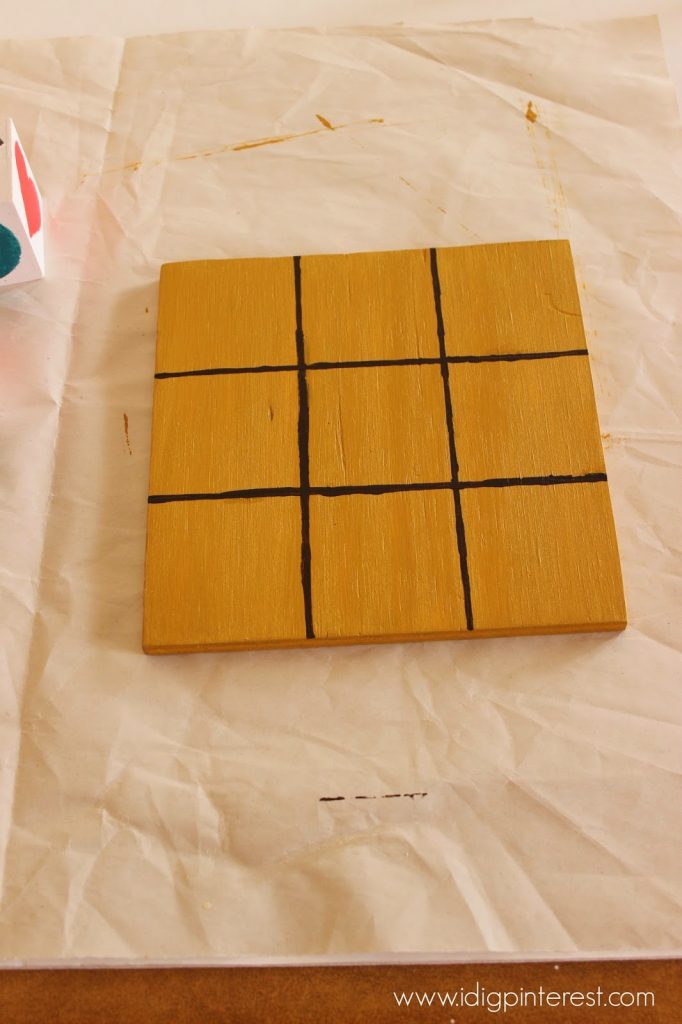
Use a straight edge to paint a line between the markings. You should end up with nine small squares for your tic tac toe blocks to rest. Let dry, then you’re done!
Now grab a playmate, select a holiday symbol, and try for a tic tac toe!
I had a blast making this, and now we get to enjoy playing a wooden version of one of our favorite classic games.
I was provided with free product from DecoArt to try but was not otherwise compensated. The project idea and opinions are all mine.


Comments