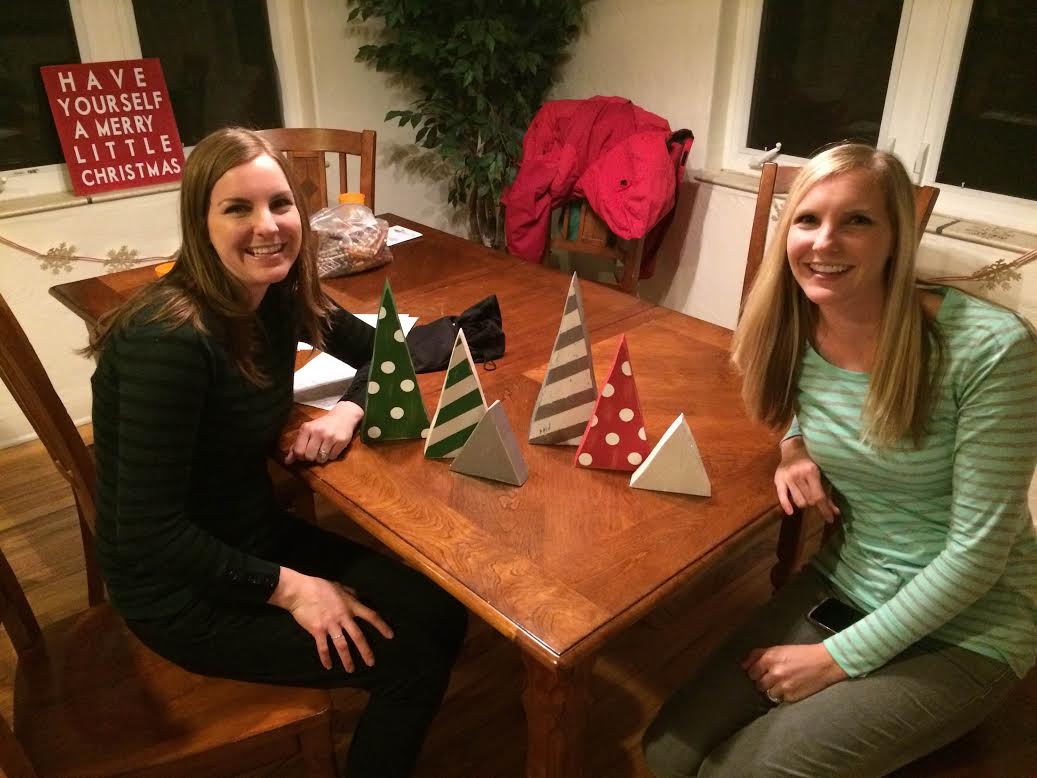
Each year I love to add a few more handmade elements to my Christmas decor collection, so this time around, I made some modern looking wooden Christmas trees in some of my favorite patterns!

When my sister and her family were visiting here for Thanksgiving, we had a bunch of plans. Among them were baking sweet treats and crafting up a storm. She made a pretty burlap wreath one of the mornings and then, after we played a bit with the kids so we didn’t feel like we were totally neglecting them in the name of our “projects”, we made these fun painted Christmas trees!
I assisted while the hubby cut the wood. We started outside and then quickly moved in as our hands turned stiff in the 20 degree temps. The fire blazing inside was never more welcoming! Then after cleaning up the sawdust mess that collected everywhere, my sister and I went to town making something adorable to adorn our homes for the holidays.
We had such a great time crafting together, even though it was quite the feat with six little kids between the two of us.
This is such a fun craft and comes together quickly. The longest part is waiting for the paint to dry!
{SUPPLIES}
-Paint (I used PLAID Silver Sterling, Classic Green, White Pearl and Sequin Silver)
-Foam brushes, including a circle foam brush for making polka dots
-Wood Triangles (we cut ours to be 12″, 9″, and 5″ tall with 5″ bases). I used a scrap 2″ x 6″ piece of wood. You want them to be able to stand.
-Sand Paper
-Masking Tape
-Polka Dot Circle Foam Brush
I don’t have a step by step tutorial for this one because it’s super easy and self explanatory. I first made paper patterns and then traced them onto our scrap piece of wood. Cut out the wood, sand the pieces well, and then paint them. It may require a few coats of paint.
I painted the tallest one with Classic Green, waited for it to dry, then added the polka dots with my circle brush and White Pearl paint. The mid-sized one I painted with White Pearl, allowed it to dry and then placed masking tape over the top in diagonals. I then painted the stripes with Classic Green and then peeled up the masking tape while the paint was still slightly wet. I chose not to continue the pattern on the sides of the trees.
I painted the third and smallest tree with Silver Sterling, allowed it to dry, then painted a coat of Sequin Silver over the top for a nice shimmer. After all the paint was dry, I roughed up the edges and faces of the trees with sand paper. That’s it!

I love how they turned out! These trees are so fun and whimsical and are perfect for a table centerpiece, fireplace mantel, or any other space! I added in a few pinecones from my yard to continue the rustic woodland theme.
Happy Crafting!


google.com
montanez